Learn how to install car or truck door edge guards in 15 minutes or less.
A chip or nick in your paint is more than just a minor visual annoyance. Even if it’s easy to overlook, the tiny patch of missing paint can lead to bigger problems over time, since metal exposed to the elements can rust.
Want to avoid that headache? Truck or car door edge guards are one of the quickest and easiest ways to protect a particularly vulnerable part of your vehicle. This is the part that gets opened into high curbs, walls, and even other cars. All it takes is the sound of that telltale crunch to know that you’ve received one more chip in the paint you work so hard to maintain elsewhere on the car: the hood, the roof, and the trunk.
Every impact can leave its mark, and every mark is one more opportunity for rain and other moisture to start eating away at the door itself—as well as your car’s value.
Fortunately, door edge guard installation is easy. The job can be done in as little as 15 minutes total. That means you can have all four doors decked out in paint-protecting trim in a quarter of an hour, and you don’t have to have any prior experience with car edge trim (or even cars in general).
Note that the time spent doesn’t include however long you take to pick out the perfect color for your door edge guards. The full-size guards come in chrome, platinum, black, gold, and clear, so you can choose to make the car edge trim disappear against the body or add some new color to your vehicle. You can order by the reel or get a kit, but once you’ve made your selections and the door edge protectors arrive, you can get started with a project that will barely take up a fraction of a part of the day.
In fact, the whole door edge guard installation process can be wrapped up in six quick steps, all of which are laid out below.
1. Clean
Before applying any edge guard trim, be sure to clean the area. Door edge guards will stick best on a surface free of dirt, dust, road grime, and wax, so be sure to remove any stubborn spots, including leftover adhesive residue.
2. Measure
Inspect the length of the door edge protectors to be sure they aren’t too short. Just hold them against the door edge itself to see how they measure up.
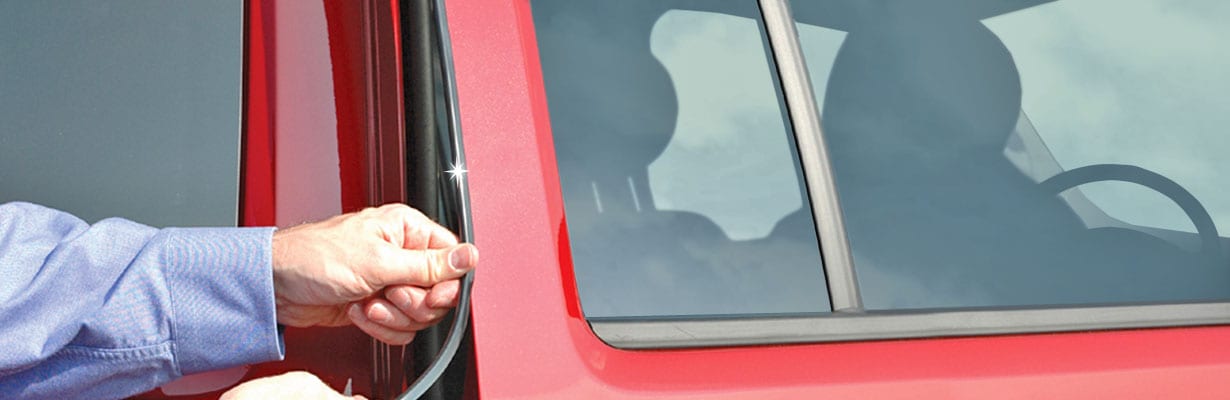
3. Apply
Find your starting point and begin sticking it to the door edge, working from top to bottom. Use your fingers to push down and smooth out the guard as you go. The U-shaped trim should fit snugly, creating a tight line that will look good as it shields your door edge from nicks.
4. Trim
Trim away any leftover edge guard hanging at the bottom.
5. Repeat
Repeat on as many doors as necessary. The door edge trim can also work on rear hatches.
6. Smile
Admire your own handiwork and resourcefulness in equipping your Honda, Toyota, Lexus, etc. with door edge guards. This might actually be the step that takes the longest. Go ahead. Pat yourself on the back a little longer. You can even add more time to this project by inviting other people to come see what you accomplished. Family, friends, coworkers, neighbors, and total strangers passing by are all fair game.
If you take the new trim (and the rest of the vehicle) out for a spin and put a nick in the adhesive lines meant to guard the doors, you can remove them back at home base and put on some fresh ones.
Note that edge guard trim is different from car door molding. The trim protects the edge of your car doors from chips, while molding runs horizontally along the entire door to protect the surface from dings that come from opening it into trees, poles, and walls, or from other drivers opening their own doors into yours.
Cowles Products sells car door edge guards made in the United States that are as durable as they are flexible. The guards are UV protected, which means they’ll keep your door edges ding free for a long time despite the sun’s best deteriorating efforts.
