-
1
Clean — Before applying any edge guard trim, be sure to clean the area. Door edge guards will stick best on a surface free of dirt, dust, road grime, and wax, so be sure to remove any stubborn spots, including leftover adhesive residue.
-
2
Measure — Inspect the length of the door edge protectors to be sure they aren’t too short. Just hold them against the door edge itself to see how they measure up.
-
3
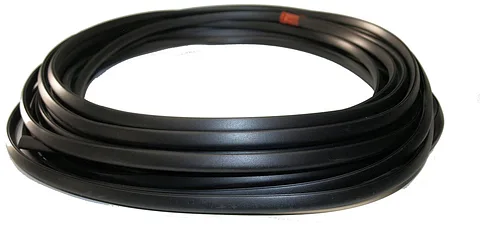
Apply — Find your starting point and begin sticking it to the door edge, working from top to bottom. Use your fingers to push down and smooth out the guard as you go. The U-shaped trim should fit snugly, creating a tight line that will look good as it shields your door edge from nicks.
-
4
Trim — Trim away any leftover edge guard hanging at the bottom.
-
5
Repeat — Repeat on as many doors as necessary. The door edge trim can also work on rear hatches.
-
6
Smile — Admire your own handiwork and resourcefulness in equipping your Honda, Toyota, Lexus, etc. with door edge guards. This might actually be the step that takes the longest. Go ahead. Pat yourself on the back a little longer. You can even add more time to this project by inviting other people to come see what you accomplished. Family, friends, coworkers, neighbors, and total strangers passing by are all fair game. If you take the new trim (and the rest of the vehicle) out for a spin and put a nick in the adhesive lines meant to guard the doors, you can remove them back at home base and put on some fresh ones.